grace@remaxpack.com
15161500419

Email format error
Email cannot be empty
Email already exists
6-20 characters(letters plus numbers only)
The password is inconsistent
Email format error
Email cannot be empty
Email does not exist
6-20 characters(letters plus numbers only)
The password is inconsistent
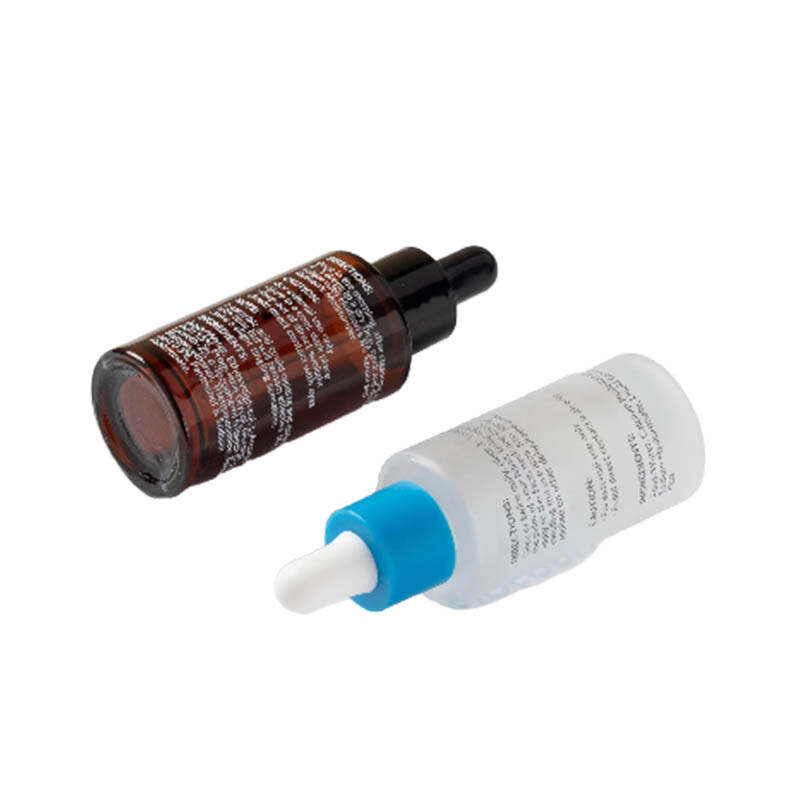
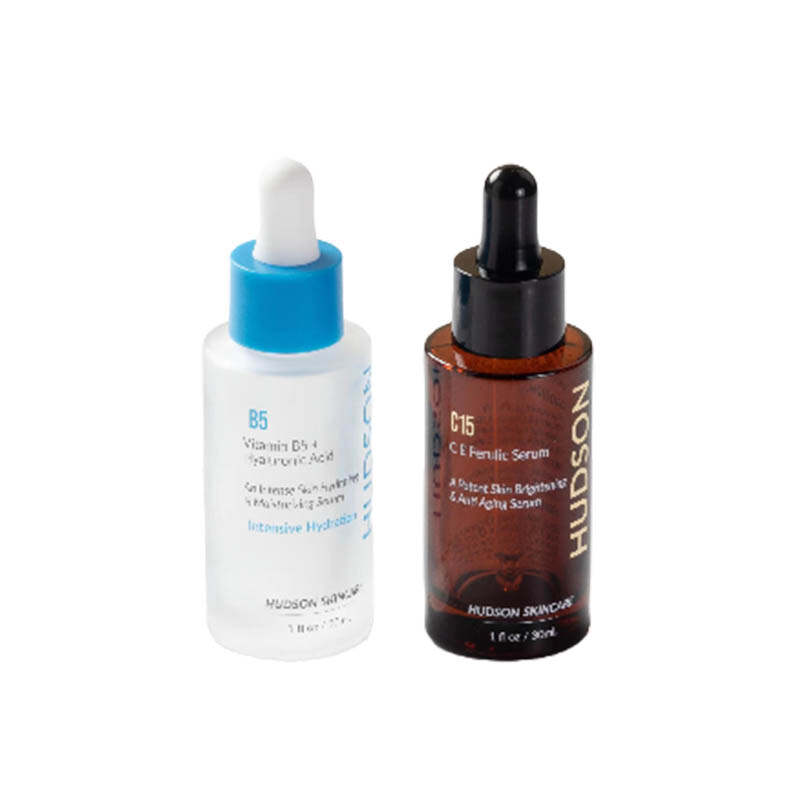
Essential oils have become increasingly popular for their numerous benefits, from aromatherapy to natural cleaning solutions. However, once you start using these oils, you may find that your essential oil bottles can become stained or contaminated over time. Knowing how to clean an essential oil bottle is essential for maintaining the quality of your oils and ensuring that your next blend retains its original scent and therapeutic properties. In this blog, we will explore various methods and tips on how to effectively clean essential oil bottles, whether they are glass or plastic.
Why It’s Important to Clean Essential Oil Bottles?
Before we delve into the specific techniques of how to clean an essential oil bottle, let’s first discuss why it’s important to keep these bottles clean:
Preservation of Aroma: Essential oils are potent substances. If residues from previous oils are left in the bottle, they can alter the aroma of new oils, leading to an unpleasant scent.
Avoiding Contamination: Dirt, dust, and moisture can contaminate your oils. Cleaning bottles regularly can help prevent any potential spoilage.
Safety: Some essential oils can be irritating to the skin if they come into contact with contaminants. Cleaning your bottles ensures that they are safe to use.
Aesthetic Appeal: Clean bottles look better and are more appealing to use and display.
Materials Needed for Cleaning Essential Oil Bottles
Before you start, gather the necessary materials to help you clean your essential oil bottles effectively. Here’s a list of what you may need:
● Rubbing Alcohol or Vinegar: Both are excellent cleaning agents that can effectively break down oily residues.
● Warm Water: This will help dissolve any residues and make cleaning easier.
● Cotton Swabs or Pipettes: Useful for reaching narrow necks and corners.
● Small Funnel: Helps in pouring liquids without spills.
● Soft Cloth or Paper Towels: For drying and polishing the bottle after cleaning.
● Dish Soap: A mild dish soap can be used if the bottle has a stubborn residue.
Step-by-Step Guide on How to Clean an Essential Oil Bottle
Now that you have your materials ready, let’s go through the steps on how to clean an essential oil bottle effectively.
Step 1: Empty the Bottle
Before you begin cleaning, ensure that you empty the bottle of any remaining oil. If the bottle has a dropper or rollerball, remove that as well. You can use a cotton swab or a small funnel to pour out the excess oil if needed.
Step 2: Rinse with Warm Water
Rinse the bottle with warm water to help loosen any remaining oil. This step is crucial, especially for bottles that have held thicker oils. You can fill the bottle halfway with warm water, secure the cap, and shake gently to help dislodge the oil.
Step 3: Use Rubbing Alcohol or Vinegar
Now that the bottle has been rinsed, it’s time to focus on how to clean an essential oil bottle with rubbing alcohol or vinegar.
Rubbing Alcohol Method: Pour a small amount of rubbing alcohol into the bottle, about a quarter full. Shake it well for a few seconds to let the alcohol break down the oily residues. You can use a cotton swab to wipe down the inside of the bottle as well.
Vinegar Method: If you prefer a natural approach, fill the bottle halfway with vinegar and let it sit for 10-15 minutes. Shake the bottle gently, then use a cotton swab to reach any corners.
Step 4: Rinse Again
After using either the rubbing alcohol or vinegar, thoroughly rinse the bottle with warm water again to remove any cleaning agents. This step is vital to ensure that there are no residues left that could contaminate your oils.
Step 5: Use Dish Soap for Stubborn Residues
If there are still residues after the alcohol or vinegar rinse, consider using a few drops of mild dish soap. Fill the bottle with warm water, add the soap, and shake it vigorously. Rinse thoroughly afterward to eliminate any soap traces.
Step 6: Dry the Bottle
Once the bottle is clean, it’s important to dry it properly. You can use a soft cloth or paper towel to wipe the exterior and interior of the bottle. If the neck of the bottle is narrow, a cotton swab can help remove moisture.
Step 7: Reassemble and Store
If you removed a dropper or rollerball, ensure they are cleaned as well. Once everything is dry, reassemble your essential oil bottle and store it in a cool, dark place.
Alternative Methods to Clean Essential Oil Bottles
While the above steps provide a standard procedure on how to clean an essential oil bottle, there are alternative methods that you can use depending on your preference or the level of cleaning required.
Method 1: The Soak Method
For heavily soiled bottles, consider soaking them overnight. Here’s how:
- Fill a bowl or sink with warm water and add a few tablespoons of rubbing alcohol or vinegar.
- Submerge the essential oil bottles in the mixture.
- Let them soak overnight, which will help loosen any stubborn residues.
- Rinse and dry the next day as previously described.
Method 2: Baking Soda Scrub
Baking soda can be a natural abrasive that helps remove stubborn residues. Here’s how to use it:
- Mix a tablespoon of baking soda with warm water to create a paste.
- Use a soft cloth or sponge to scrub the inside of the bottle with the paste.
- Rinse thoroughly with warm water to ensure all the baking soda is removed.
Tips for Maintaining Clean Essential Oil Bottles
To keep your essential oil bottles clean and in good condition, consider the following tips:
Store Properly: Always keep your bottles away from sunlight and heat to prolong the life of your oils and maintain cleanliness.
Label Your Bottles: If you use multiple oils, labeling your bottles can help prevent confusion and cross-contamination.
Regular Cleaning: Make it a habit to clean your bottles after each use or when you switch oils. This will reduce the buildup of residues and make future cleaning easier.
Use High-Quality Bottles: Investing in high-quality essential oil bottles can reduce the chances of residue buildup. Cheaper bottles may leach chemicals or odors that could affect your oils.
When to Replace Your Essential Oil Bottles
Despite regular cleaning, there may come a time when you need to replace your essential oil bottles. Here are some signs to look out for:
Cracks or Damage: If the bottle is cracked or damaged, it may not seal properly, leading to contamination or evaporation of your oils.
Persistent Odors: If you notice that your bottle retains strong odors despite cleaning, it might be time to get a new one.
Old Age: Essential oil bottles can degrade over time, especially if they have been exposed to light and heat. If you’ve had the bottle for years, consider replacing it.
Conclusion
Knowing how to clean an essential oil bottle is a valuable skill for anyone who uses essential oils. Proper cleaning not only preserves the quality of your oils but also ensures safety and enhances your overall experience with these fragrant substances. By following the methods and tips outlined in this guide, you can keep your essential oil bottles in top condition for many uses to come. Regular maintenance and mindful usage will contribute to a more enjoyable and effective essential oil experience, allowing you to reap all the benefits that these powerful oils have to offer.